How to Create a Photo Mosaic: Complete Beginner's Guide (DIY vs. Pro)
To create a museum-grade photo mosaic, select a high-contrast master portrait, curate 100 to 1,000 diverse tile pictures, and run an optical matching engine such as Photomosaic.work. The algorithm analyzes color values across an ultra-dense grid, placing individual photos to form the main image without fake blurry overlays, resulting in a razor-sharp 300 DPI canvas print.
Watch how hundreds of micro-photos assemble smoothly to reveal the master portrait at 300 DPI resolution.
A photo mosaic (also written as photomosaic) is one of the most captivating art forms of the modern digital age. Seen from across the room, it appears as a striking, seamless portrait of a loved one, a wedding moment, or an iconic milestone. But as you step closer, the magic reveals itself: the entire canvas is built entirely out of hundreds or thousands of tiny, personal photographs.
Whether you are designing an unforgettable anniversary canvas, commemorating a family heritage gallery, or creating an interactive team mural, creating a high-resolution mosaic used to require expensive desktop workstations and hours of complex rendering. Today, with modern browser-based GPU acceleration on free photo mosaic makers, anyone can craft a gallery-grade mosaic in under three minutes.
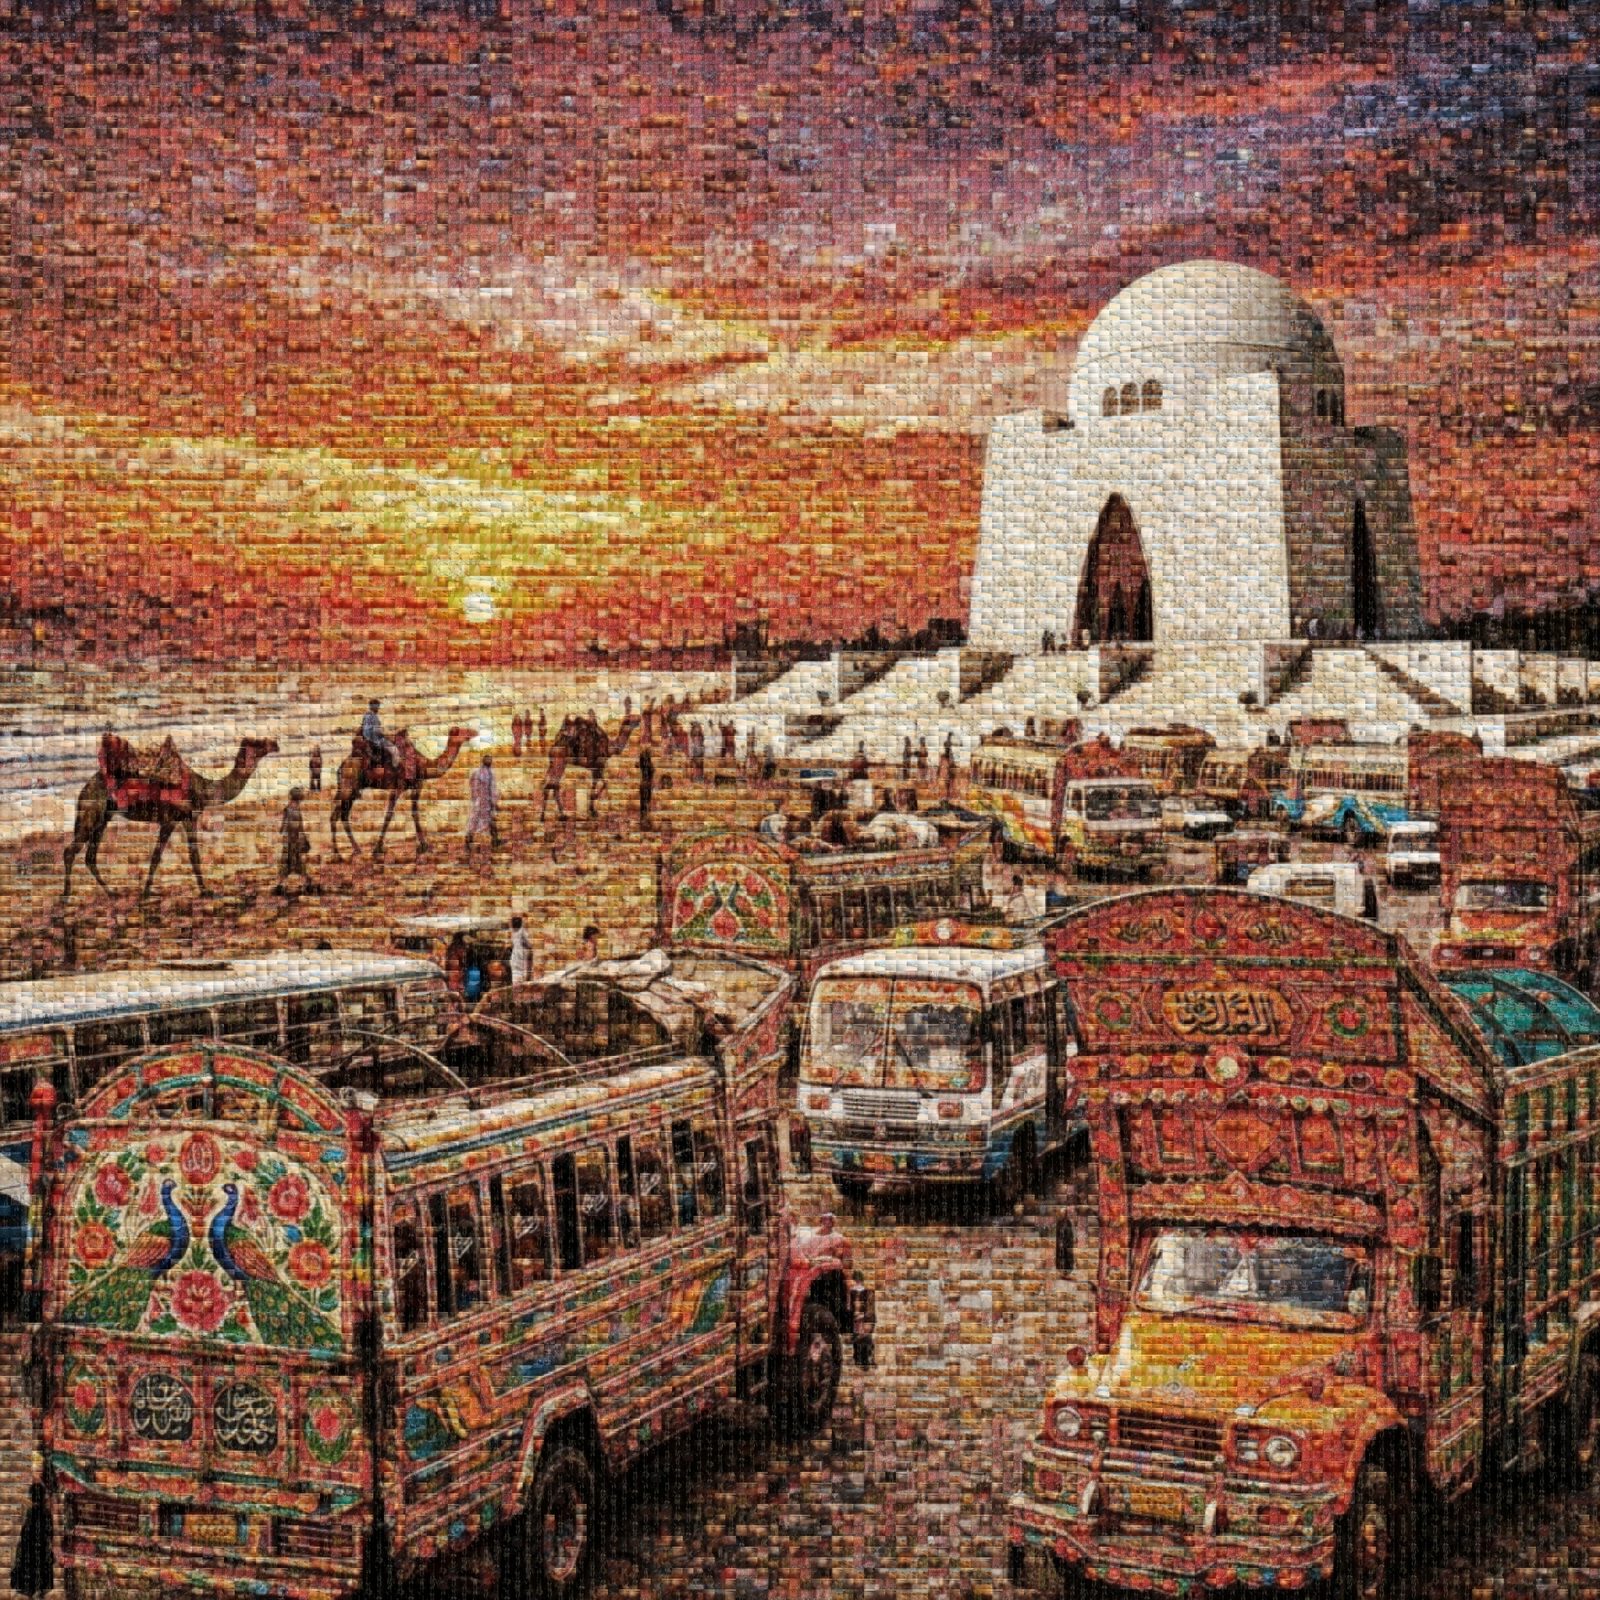
🔍 How to Turn Any Photo or Picture into a Mosaic Pattern
If you have ever asked "how to turn a picture into a mosaic pattern", the underlying science comes down to three mathematical steps:
- Grid Segmentation: The master image is divided into thousands of micro-rectangles (tiles). For example, a 24" x 36" print typically uses a 40 x 60 grid, creating 2,400 individual picture cells.
- Color & Luminance Extraction: The software calculates the average perceptual color values of each cell, factoring in contrast, brightness, and warmth.
- Optical Pattern Substitution: The engine scans your uploaded tile library and places the exact photo whose natural colors match that coordinate. In modern systems like Photomosaic.work, advanced spatial reuse penalties ensure no identical photos are placed right next to each other.
🛠️ 5 Steps to Creating a Museum-Grade Photo Mosaic
📸 Step 1: Select the Perfect Master Image
The master image is the overarching portrait that viewers see from a distance. Choose a photo with a strong, unambiguous focal point—close-up portraits of couples, silhouettes, smiling pets, or family groups against simple backgrounds work best. Avoid chaotic, distant landscapes where facial features are already tiny before tiling begins.
🗂️ Step 2: Curate Your Tile Memory Library
A great mosaic tells a story through its building blocks. Gather between 100 and 1,000 photos from vacations, family holidays, childhood memories, and celebrations. A healthy mix of bright outdoor shots (green grass, blue skies) and warm indoor lighting ensures the algorithm has rich chromatic diversity to match skin tones and shadows naturally.
📐 Step 3: Calibrate Sizing & Viewing Distance for Print
When ordering a physical canvas or framed print, calculating the physical tile size is critical. If tiles are too small (<0.3 inches), they become impossible for the human eye to appreciate without a magnifying glass. If they are too large (>1.5 inches), the master portrait loses definition.
| Canvas Size | Ideal Tile Size | Tile Count | Optimal Viewing Distance |
|---|---|---|---|
| 16" x 20" | 0.6" – 0.8" | ~600 tiles | 2 to 4 feet |
| 24" x 36" (Most Popular) | 0.75" – 1.0" | ~1,200 – 1,800 tiles | 3 to 6 feet |
| 30" x 40" / 36" x 48" | 0.9" – 1.25" | ~2,000 – 3,200 tiles | 5 to 10 feet |
⚡ Step 4: Run Real-Time Optical Matching
Upload your files directly to an online photomosaic generator. Because the rendering happens entirely in your local browser through WebAssembly and WebGL, your photos remain 100% private on your own device. Adjust the grid density slider and zoom into individual tiles at 100% scale to inspect face clarity before finalizing.
🎬 Step 5: Export Full-Resolution 300 DPI Proofs & Video Reveals
Once you are thrilled with the preview, export a full-resolution 300 DPI master file for canvas printing. You can also generate an animated MP4 video reveal—a dynamic 4K cinematic animation that starts as a close-up on individual photos before smoothly pulling back to reveal the full portrait.
⚖️ Comparing Mosaic Methods: Old Desktop Software vs. Modern AI Engines
| Feature | Legacy Freeware Tools | Photomosaic.work |
|---|---|---|
| Color Technique | Muddy translucent color overlays | Pure 100% optical color matching |
| Tile Clarity | Washed-out, low-res thumbnails | Pin-sharp 300 DPI museum prints |
| Installation Required | Complex desktop downloads & Python setups | Zero install: 1-click in any web browser |
| Privacy & Security | Unverified cloud uploads | In-browser processing: private memory art |
| Animated Video Reveals | Not supported | 4K dynamic zoom-in reveals included |
Turn Your Memories into a Work of Art
Create your custom photo mosaic online in seconds. Free real-time interactive preview, zero watermarks, and museum-grade 300 DPI resolution.
Try the Free Photo Mosaic Maker →Explore Categories:
#Photo Mosaic Tutorial #How to Make a Photomosaic #DIY Photo Mosaic #Turn Photo Into Mosaic #Photo Mosaic Maker #Photomosaic.work📖 Recommended Next Masterclasses
- 👉 How to Order a Large Custom Photo Mosaic for Your Home (Step-by-Step Guide)
- 👉 The Complete Checklist for Designing Your Custom Photo Mosaic Masterpiece
- 👉 How to Create a Museum-Grade Photo Mosaic: The Complete Calibration Guide


Comments
Post a Comment